How I got the shot - Sami
Photoshoots in November can be interesting. The weather can change, the streets can be busy, but mostly the light disappears too early in the evening.
So last weekends shoot with #barcelonaphotographers_es, whilst being in a good but busy location, was tricky as the weather was overcast and the light was fading fast. So 20 minutes to get the shot, dodging passers by and sharing the time with another photographer, this should be fun ;)
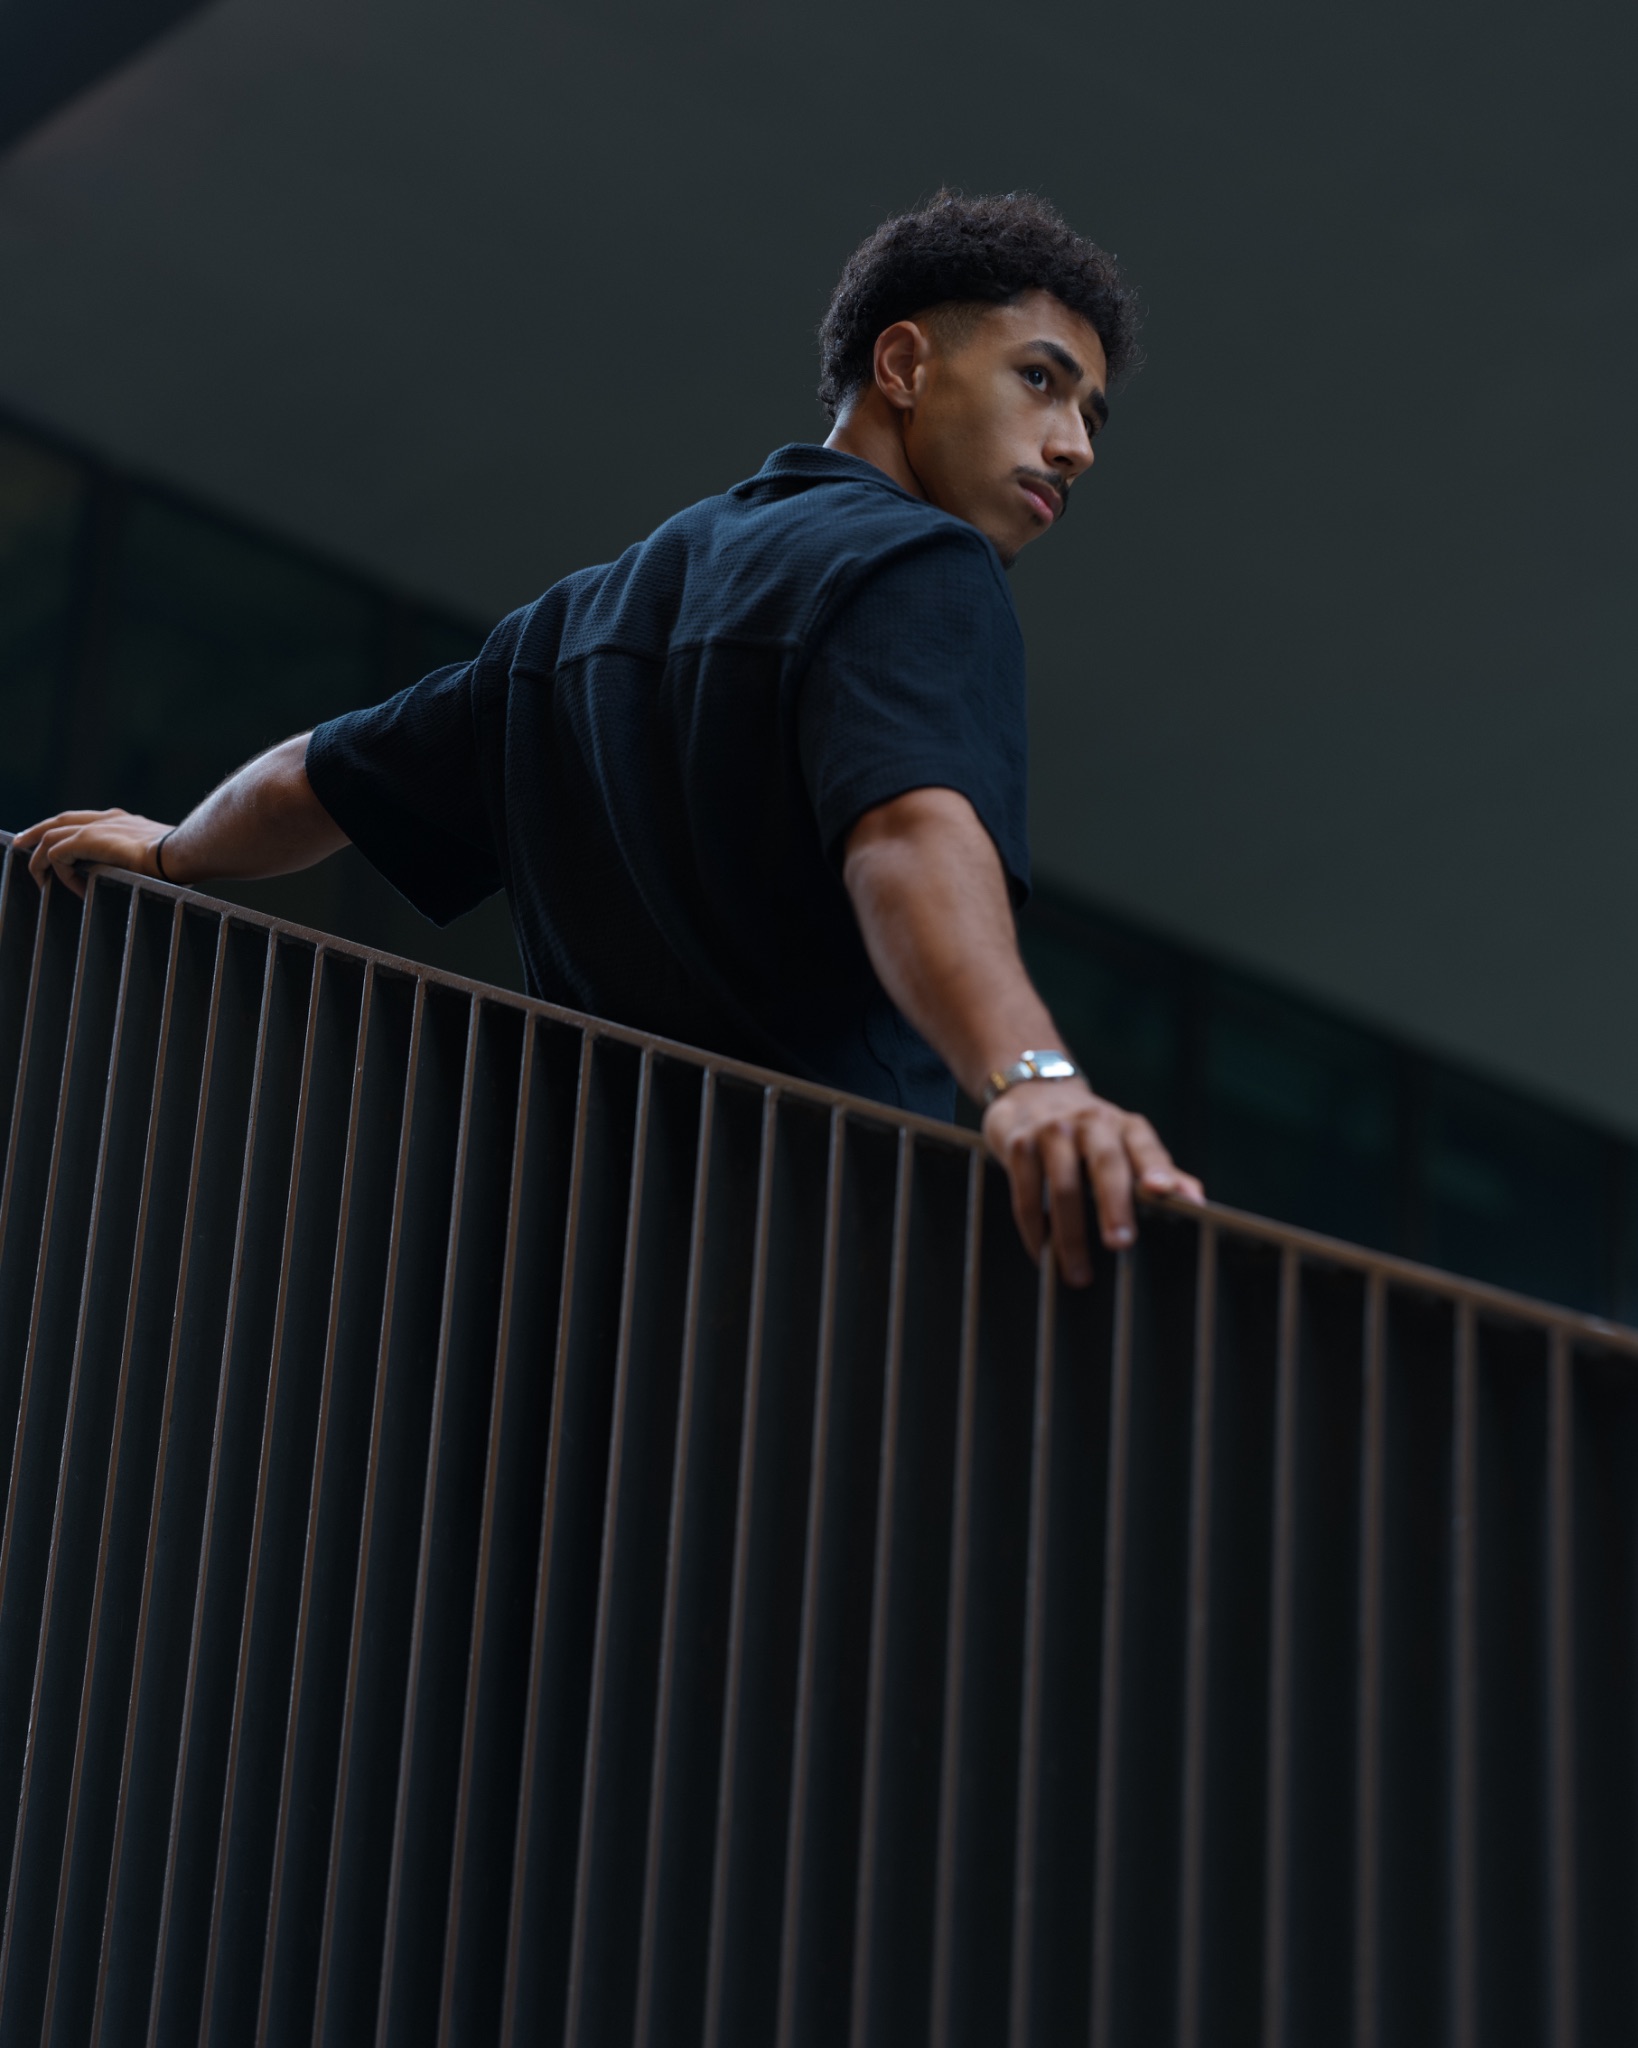
I wanted to capture Sami against a dark, uncluttered, background and found this spot just in time. The geometric shapes were perfect leading lines.
The problem with my Hasselblad is the auto-focus isn't so good in dark shade, so I have to keep the model still, or use manual focus.
The bigger issue for someone like me who grew up with film is ISO settings.
The Hasselblad is a very capable camera and can shoot at a high ISO, but looking at the image on the rear screen can be a shock.
Don't give up or panic, remember you have de-noise in the Phocus. In this case I used the HNNR - Prioritise Detail feature in the iPhone App, but have subsequently found it is available in the Mac App (V 4.2.3) by right clicking the thumbnail image.
The actual settings for this image were
ISO: 3200
Aperture: f/2.8 (wide open)
Shutter: 1/90 th.
XCD 90V on the XCD 100C body, in aperture priority mode.
Using centre weighted metering I knew the highlights would be blown out so introduced -2.3 stops of under exposure.
This was the best of six shots, just getting the focus and capturing his expression. All it took was a slight crop and adjustments to bring up the shadow details.
What would I do to improve the image?
I would increase the ISO by two stops so I could use f/4 and a slightly higher shutter speed as there is a little motion blur.
Trusting the de-noise is new to me, so will I will experiment more for better results.